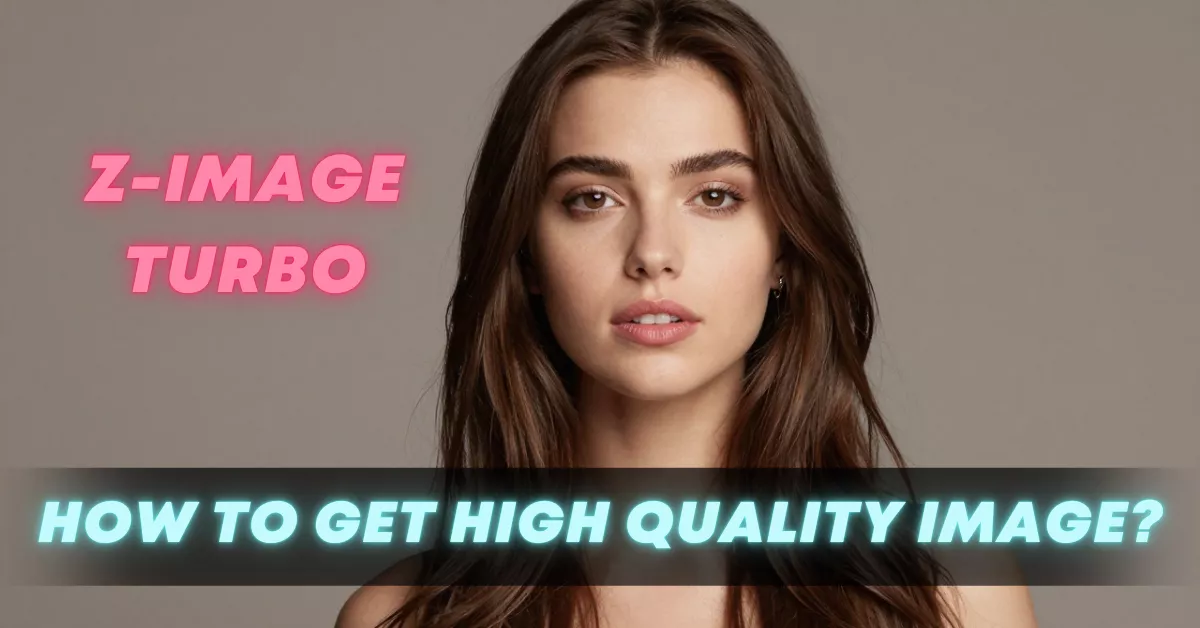
Z-Image: Best Practices for Maximum detail, Clarity and Quality?
When I first began experimenting with Z-Image and later Z-Image-Turbo, I wasn’t expecting to find myself spending hours perfecting prompts, studying tiny changes in face angles, and comparing shading patterns to see what this model could truly do. But the deeper I went, the more I realized how much potential this model unlocked. It gave me the control I’d been missing in many other AI image generators especially in terms of composition, facial detail, and consistency. Over time, I studied what worked, what didn’t, and how small changes in workflow completely changed image quality.
This article is my complete first-person guide based on the techniques, settings, and strategies that helped me get reliable, polished results. Whether you’re testing Z-Image for stylized portraits, cinematic frames, or completely imaginative characters, I’ve found that these practices consistently lead to better outputs and fewer frustrations.
Why Z-Image Became My Best Open source Model ?
One of the first things that struck me about Z-Image was how easily it handled clean compositions. I didn’t need to write long, dramatic prompts. The model responded almost immediately to short, precise cues. More importantly, it listened. If I asked for a face angle, it gave me that exact face angle. If I wanted lighting from a specific direction, it followed that too. And when Turbo was released, the results became faster and sharper.
I quickly realized that Z-Image behaves best when treated like a camera rather than a creative writing exercise. The model rewards clarity, structure, and intention. Once I shifted from “describe the scene poetically” to “instruct the camera precisely,” my results improved dramatically.
My Core Prompting Strategy That Always Works
Over time, I developed a simple prompting format that consistently produces the best images. I describe it as “camera-first prompting.” I break my prompt into sections that mirror how a photographer would think about a shot.
These sections include:
- Composition
- Character
- Environment
- Clothing and color palette
- Lighting style
- Mood, atmosphere, vibe
- Camera type and lens details
I don’t always include all of these in every prompt, but breaking down my thoughts like this forces clarity and prevents vague prompts from confusing the model.
A typical prompt written in my personal structure looks something like:
“composition: [face angle, framing]. character: [short identity + 3 traits]. environment: [simple background or specific setting]. lighting: [direction + style]. mood: [keywords]. details: [texture or material].”
Short, direct, and easy for the model to follow.
How I Describe Face Angles (My Most Important Lesson)
If there’s one part of my workflow that improved results more than anything else, it’s learning to describe face angles in simple geometric directions instead of soft descriptions. I always specify:
- front view
- left-side half-face
- 45° angle
- looking slightly up
- facing camera
- profile
These short references are bulletproof. I avoid poetic descriptions like “gazing outward toward the horizon” because they confuse the model. When I choose a clear angle, the model obeys it perfectly.
This also helps maintain consistency across a series of images, which is one reason I now enjoy using Z-Image for character sheets, profile sets, and storytelling frames.
Lighting: The Silent Hero of Z-Image
Lighting dramatically changes mood, realism, and clarity. I started keeping a personal library of lighting styles that work consistently:
- soft diffused daylight
- cinematic warm key light
- cool ambient light
- glowing orange sunset
- high-contrast noir lighting
- studio portrait lighting
- rim lighting
- split lighting
- top-down spotlight
Z-Image responds beautifully to lighting keywords. When I pair lighting with a face angle, the model tends to generate very clean edges, smooth shading, and believable texture.
Why Clothing and Color Palettes Matter
I discovered that describing clothes in 3–5 words is enough for Z-Image. I no longer over-describe fabrics. Small, concrete details work far better:
- white oversized hoodie
- dark black jacket
- red scarf
- blue dress with soft folds
I also learned that Z-Image listens closely to color palette words:
- warm palette
- cold palette
- neon palette
- muted tones
- monochrome
This is especially useful when I’m trying to create consistent themes for a character or a series.
Tools, Settings, and Parameters That Gave Me the Best Results
During my workflow experiments, a few settings consistently stood out.
1. Aspect Ratio
I avoid unusual aspect ratios and stick to clean, simple ones:
- 1:1
- 4:3
- 3:4
- 16:9
- 9:16
Anything beyond these tends to warp faces or distort compositions.
2. CFG
I’ve found CFG 3 to be the sweet spot for most images.
Higher CFG tends to force the model too hard and introduce odd distortions. Lower CFG sometimes loses details. CFG 3 or 2.5 gives the best balance of clarity and flexibility.
3. Number of Images
I usually generate:
- 3 images for standard scenarios
- 6 images when experimenting
- 1 image only for refinement
4. Sampler
I stick to:
- Euler a
- DPM++ SDE Karras
Both produce smooth results without artifacts.
My Upscaling Workflow (The Part That Makes the Image Truly Shine)
No matter how good the base image is, I nearly always upscale afterward. Z-Image provides great structure, but details get crisp only after the upscaling step. My working method:
Step 1 — Base image from Z-Image
I select the one with the cleanest eyes and most accurate face angle.
Step 2 — Upscale
I prefer:
- AnimeFix
- 4x UltraSharp
- 4x Restore Clean
These bring out texture, lighting, and clarity.
Step 3 — Face Fix (Only if needed)
If the eyes or mouth look slightly unbalanced, I use:
- CodeFormer
- GFPGAN
But I avoid overcorrecting because it changes the original look.
Step 4 — Final Polish
I adjust:
- sharpness
- saturation
- noise reduction
Usually just by 5–10% to keep the image natural.
What Z-Image-Turbo Changed for Me
The Turbo version of Z-Image surprised me. I expected it to be a faster version, but it’s actually much cleaner and more refined. Faces are sharper, edges are more balanced, and lighting is more consistent. I can now get reliable cinematic frames in seconds without writing long prompts.
Turbo also handles multiple characters better than the older versions. As long as I specify:
“two characters, equal framing, same lighting”
the results stay coherent.
The Biggest Mistakes I Used to Make (And How I Fixed Them)
When I look back at my early Z-Image experiments, I notice a few mistakes that caused unstable or inconsistent outputs.
Mistake 1: Long, poetic prompts
This made the model confused about the subject.
Mistake 2: Not specifying the face angle
This resulted in random compositions.
Mistake 3: Over-describing clothing
Leading to unnecessary, messy details.
Mistake 4: Random, complex backgrounds
The model excels with simple or clear backgrounds.
Mistake 5: Using high CFG
The image would break or warp.
Once I switched to short, clean prompts with clear camera logic, my consistency improved immediately.
Why Compositional Clarity Matters the Most
I now treat Z-Image like a photography assistant. I think in terms of:
- framing
- angle
- lighting
- palette
- expression
This mindset makes the model extremely obedient. In fact, it listens better than most other generators I’ve tried. The reason Z-Image feels reliable is because it rewards structure. When I give it strong compositional instructions, it gives me exactly what I imagine.
Tips I Follow Every Time I Generate an Image
Here are the rules I apply in every prompt:
- Keep prompts short
- Use direction and angle keywords
- Choose one lighting style
- Avoid complex, story-like descriptions
- Keep clothing simple
- Choose an aspect ratio before prompting
- Use CFG around 3
- Upscale and refine afterward
These simple steps consistently make Z-Image outputs cleaner and more cinematic.
My Closing Thoughts on Z-Image-Turbo
Using Z-Image-Turbo has changed the way I approach image generation. I no longer fight with unpredictable outputs or inconsistent details. Instead, I approach every prompt like a camera shot, thinking in angles, lighting, and composition. The model respects clarity, precision, and simplicity and once I aligned my workflow with that philosophy, it started giving me images that looked intentional, professional, and artistically cohesive.
Recent Posts
How to Improve Text on Z-Image Turbo?
Z-Image-De-Turbo: A de-distilled variant of Z-Image-Turbo for flexible training, LoRA development, and extended experimentation without adapters.
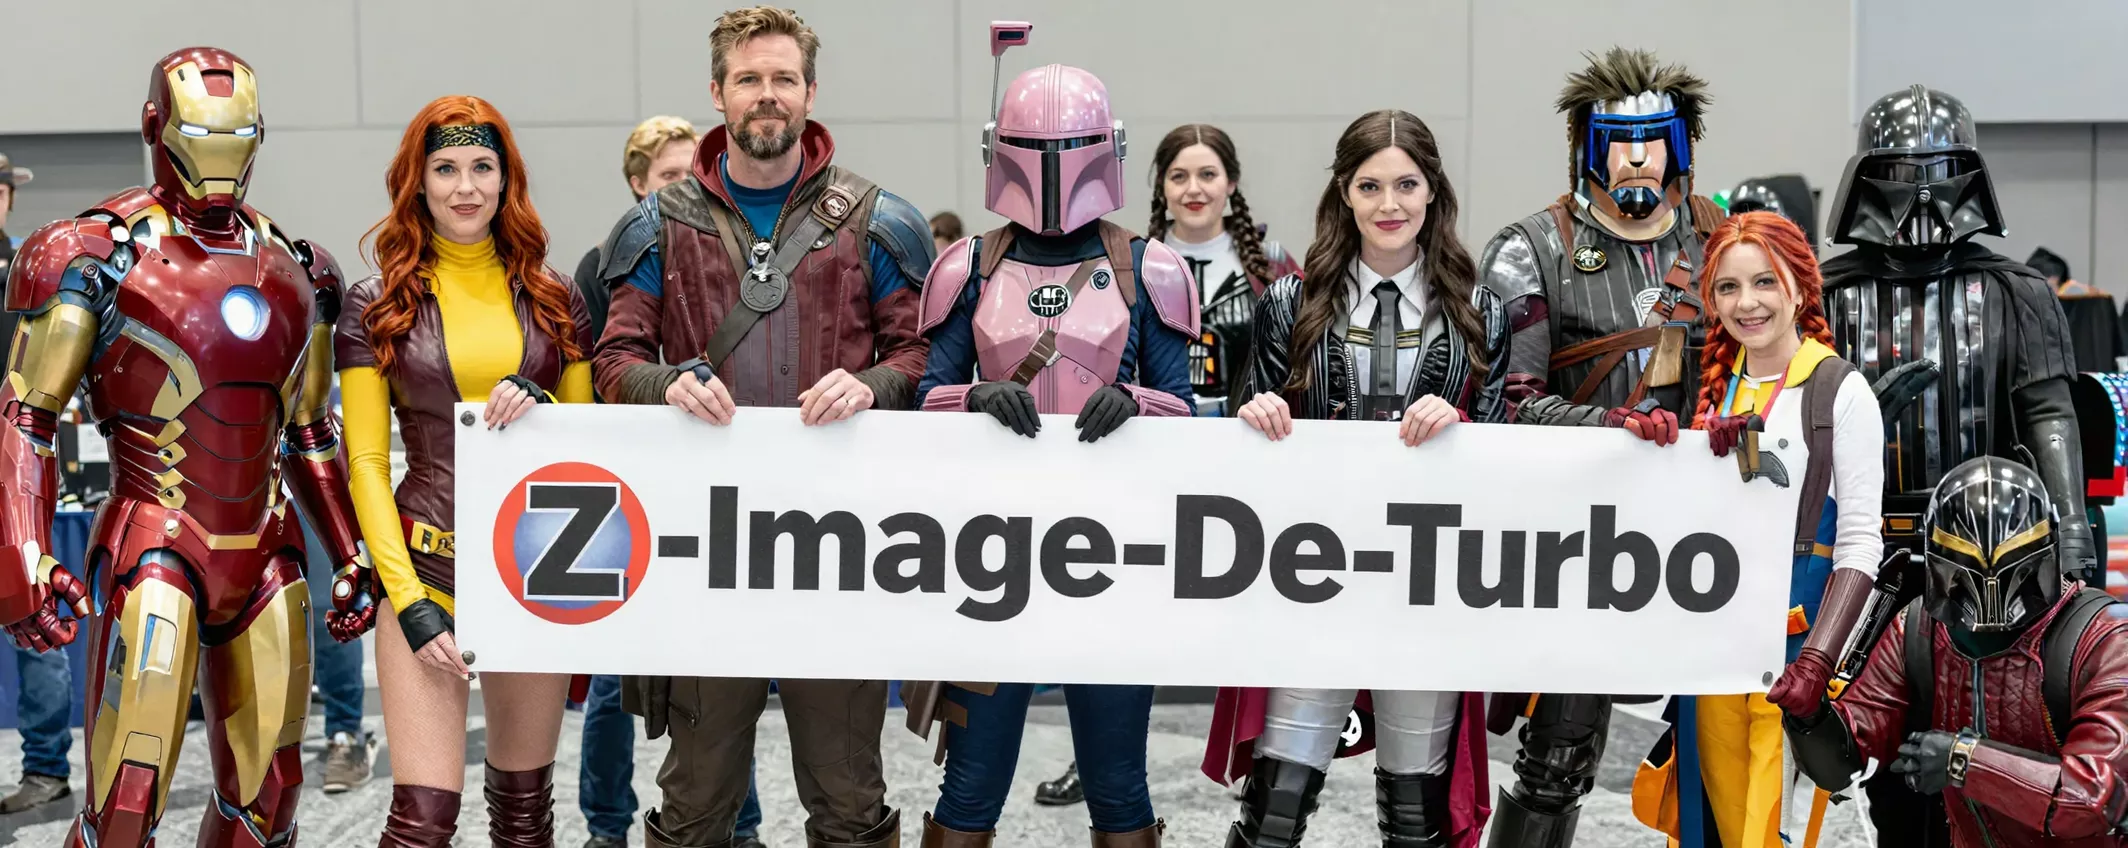
Z-Image-De-Turbo de-distilled variant of Z-Image
Z-Image-De-Turbo: A de-distilled variant of Z-Image-Turbo for flexible training, LoRA development, and extended experimentation without adapters.
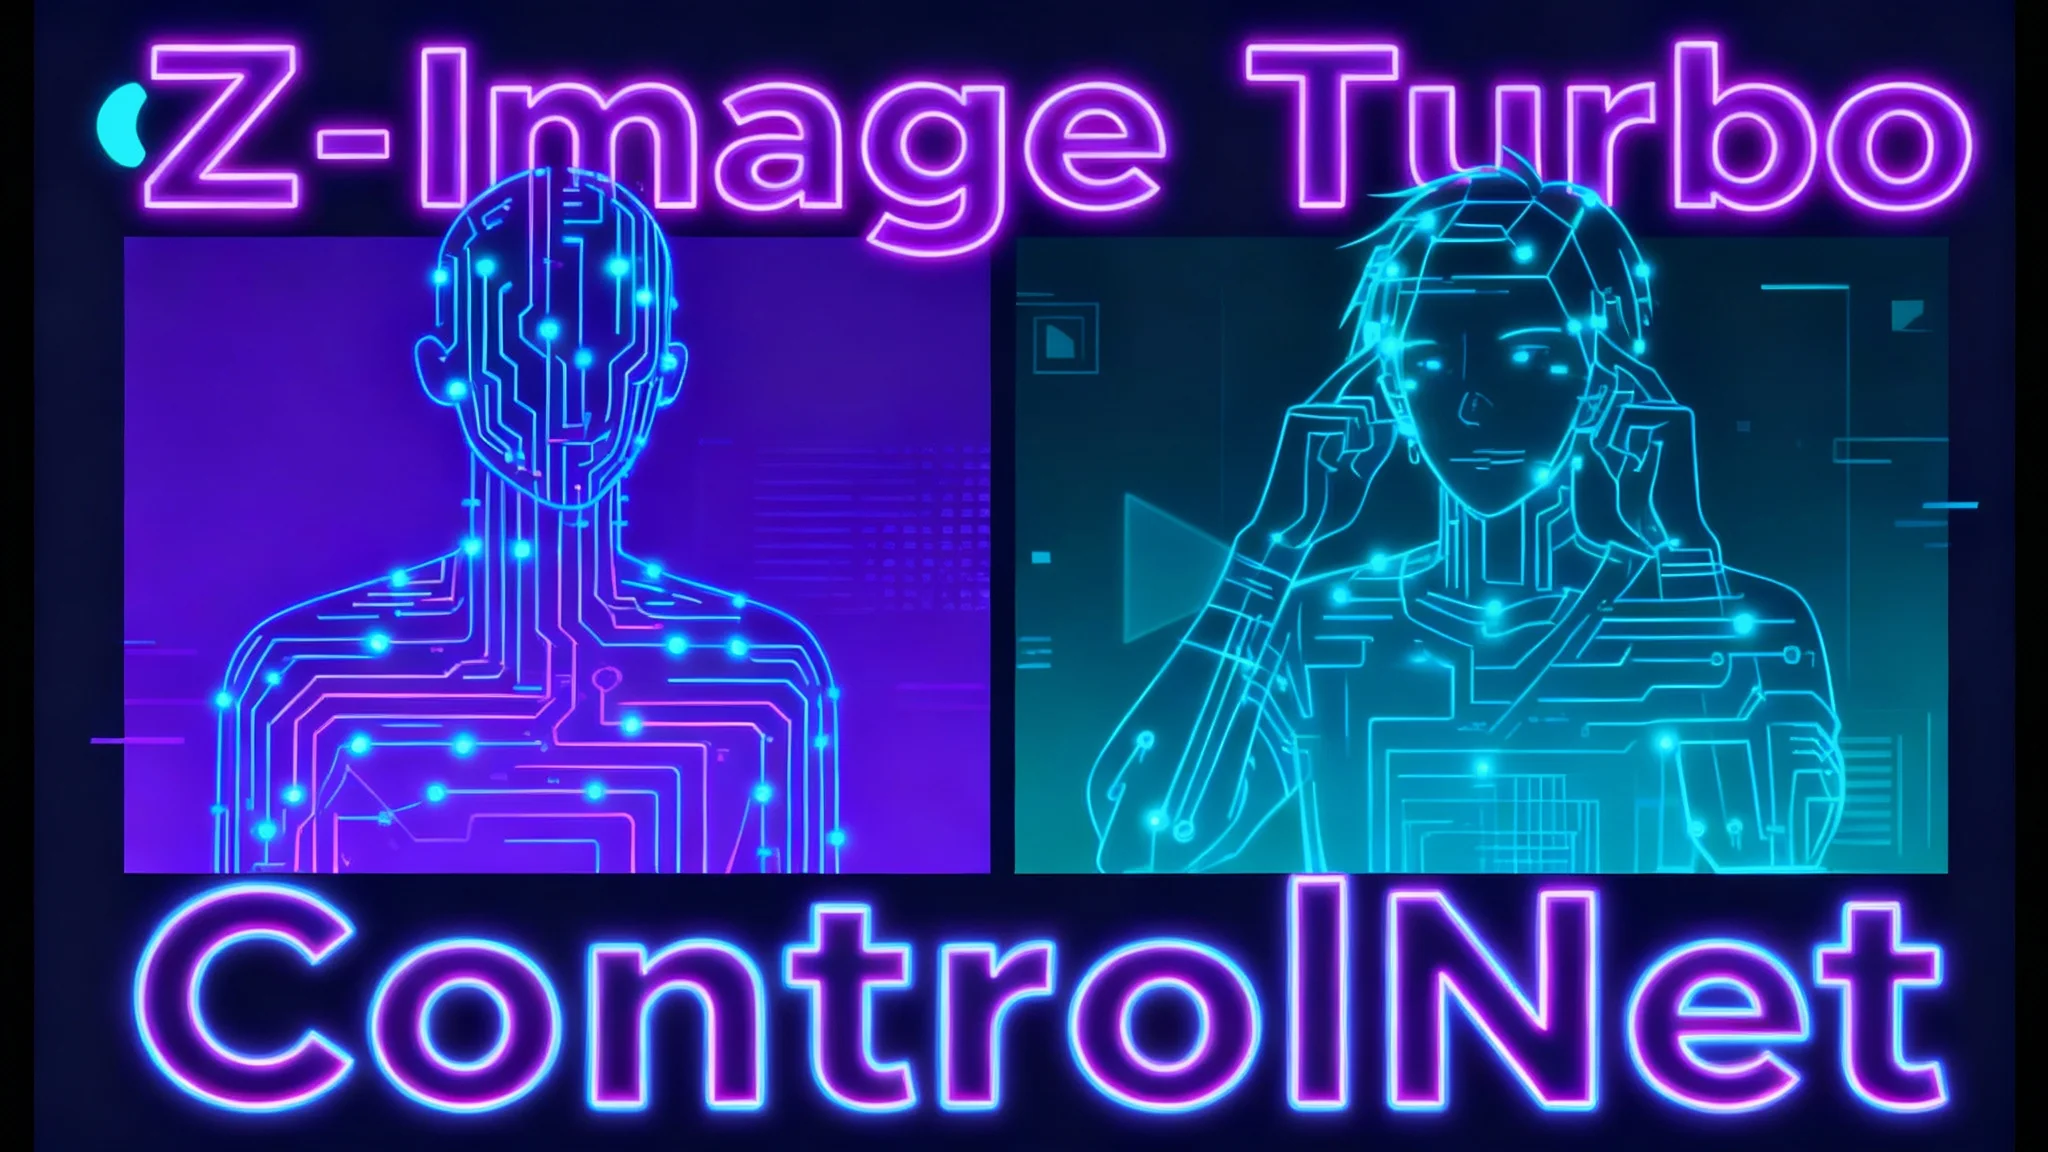
Z-Image Turbo ControlNet Workflow
Tutorial on Union ControlNet in ComfyUI—pose, Canny, and depth controls, depth-model preprocessing, step-by-step workflow, plus speed tests with example results.
Comments
Loading comments...