How to setup Z-Image with ComfyUI and Runpod: Create Utra Fast Images

Z-Image Turbo in ComfyUI - Overview
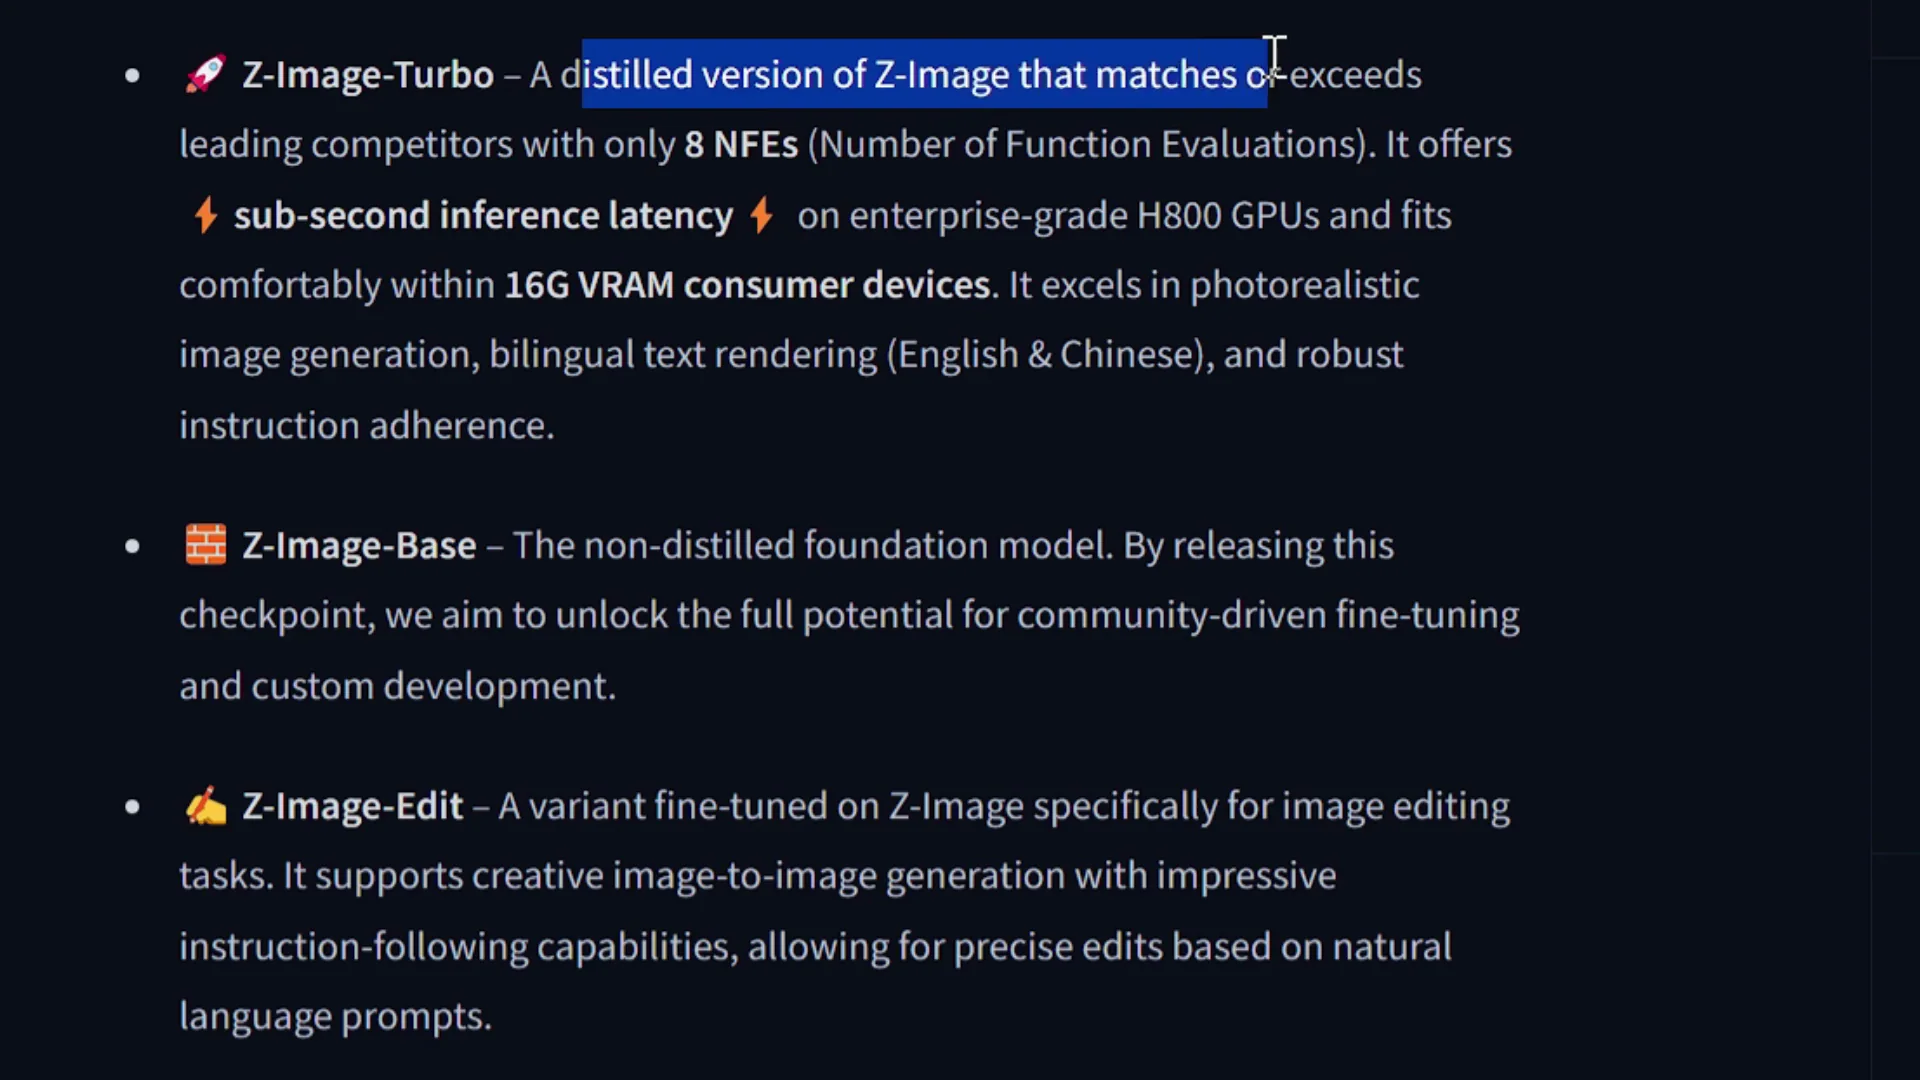
Today I am looking at Z-Image Turbo in ComfyUI. Tongyi-Mai released Z-Image Turbo, a distilled version of Z-Image that matches or exceeds leading competitors with only eight NF evaluations. I will test it in ComfyUI using GPUs from Runpod and show how to set everything up.
The quality is excellent, prompt adherence is strong, and the speed is impressive. On the GPU I used, it takes about 18 seconds per image. On stronger GPUs it runs faster. It offers subsecond inference latency on enterprise grade H800 GPUs and fits on 16 GB VRAM consumer devices.
It excels in photorealistic image generation, bilingual text rendering, and English and Chinese support. There are three models - Z-Image Turbo, Base, and Edit. As of now, Z-Image Turbo is available.
You can find checkpoints on Hugging Face and ModelScope. The examples show strong photorealistic generation while maintaining aesthetic quality, bilingual text rendering in English and Chinese, prompt enhancement and reasoning such as a math-based prompt with rabbits in a cage totaling 35 heads, and creative image editing for Z-Image Edit, which is not yet released. In this article I will test Z-Image Turbo.
Z-Image Turbo in ComfyUI - Benchmarks and Options
For text-to-image model ELO scores, Z-Image is an open-source model and scores well. It compares favorably with closed-source and other open-source models and ranks number four on the benchmark. You can also test it using Diffusers. In this guide I will show how to use ComfyUI.
Z-Image Turbo in ComfyUI - Quick Example Runs
I tried several examples to gauge speed and quality.
- A surreal portrait of a teenage boy riding a bicycle floating above a city mid roof, clouds drifting between buildings. Calm expression, dreamlike logic, soft pastel sky. Painterly lighting, slightly blurred edges, magical realism, cinematic wide shots, 8K. The output looks amazing.
- Macro photography test for photography quality. The quality is very good and runs fast.
- Japanese photography portrait of a beautiful subject. The results are excellent.
If you want to run this yourself, here is a clear setup guide.
Z-Image Turbo in ComfyUI - 101 Setup on Runpod
This section is a 101 guide on how to get started with ComfyUI on Runpod and run Z-Image Turbo.
Get the installation guide and set up Runpod
- Go to the ComfyUI GitHub page for installation instructions.
- Go to Runpod. You can use get.runpod.io/p to get started with Runpod. This gives a bonus of $5 to $500 when you spend your first $10 on Runpod.
Once you are logged in and add credits, say $10, you will receive a bonus. For example, with a $5 bonus you will see $15 in your account.
Deploy a GPU pod
- Go to Pods and click Deploy.
- You will see different pod options. You can pick H200 at around $3 to $3.5 per hour, but that is not necessary. A smaller option works. For this test I selected RTX A6000 at $49 per hour.
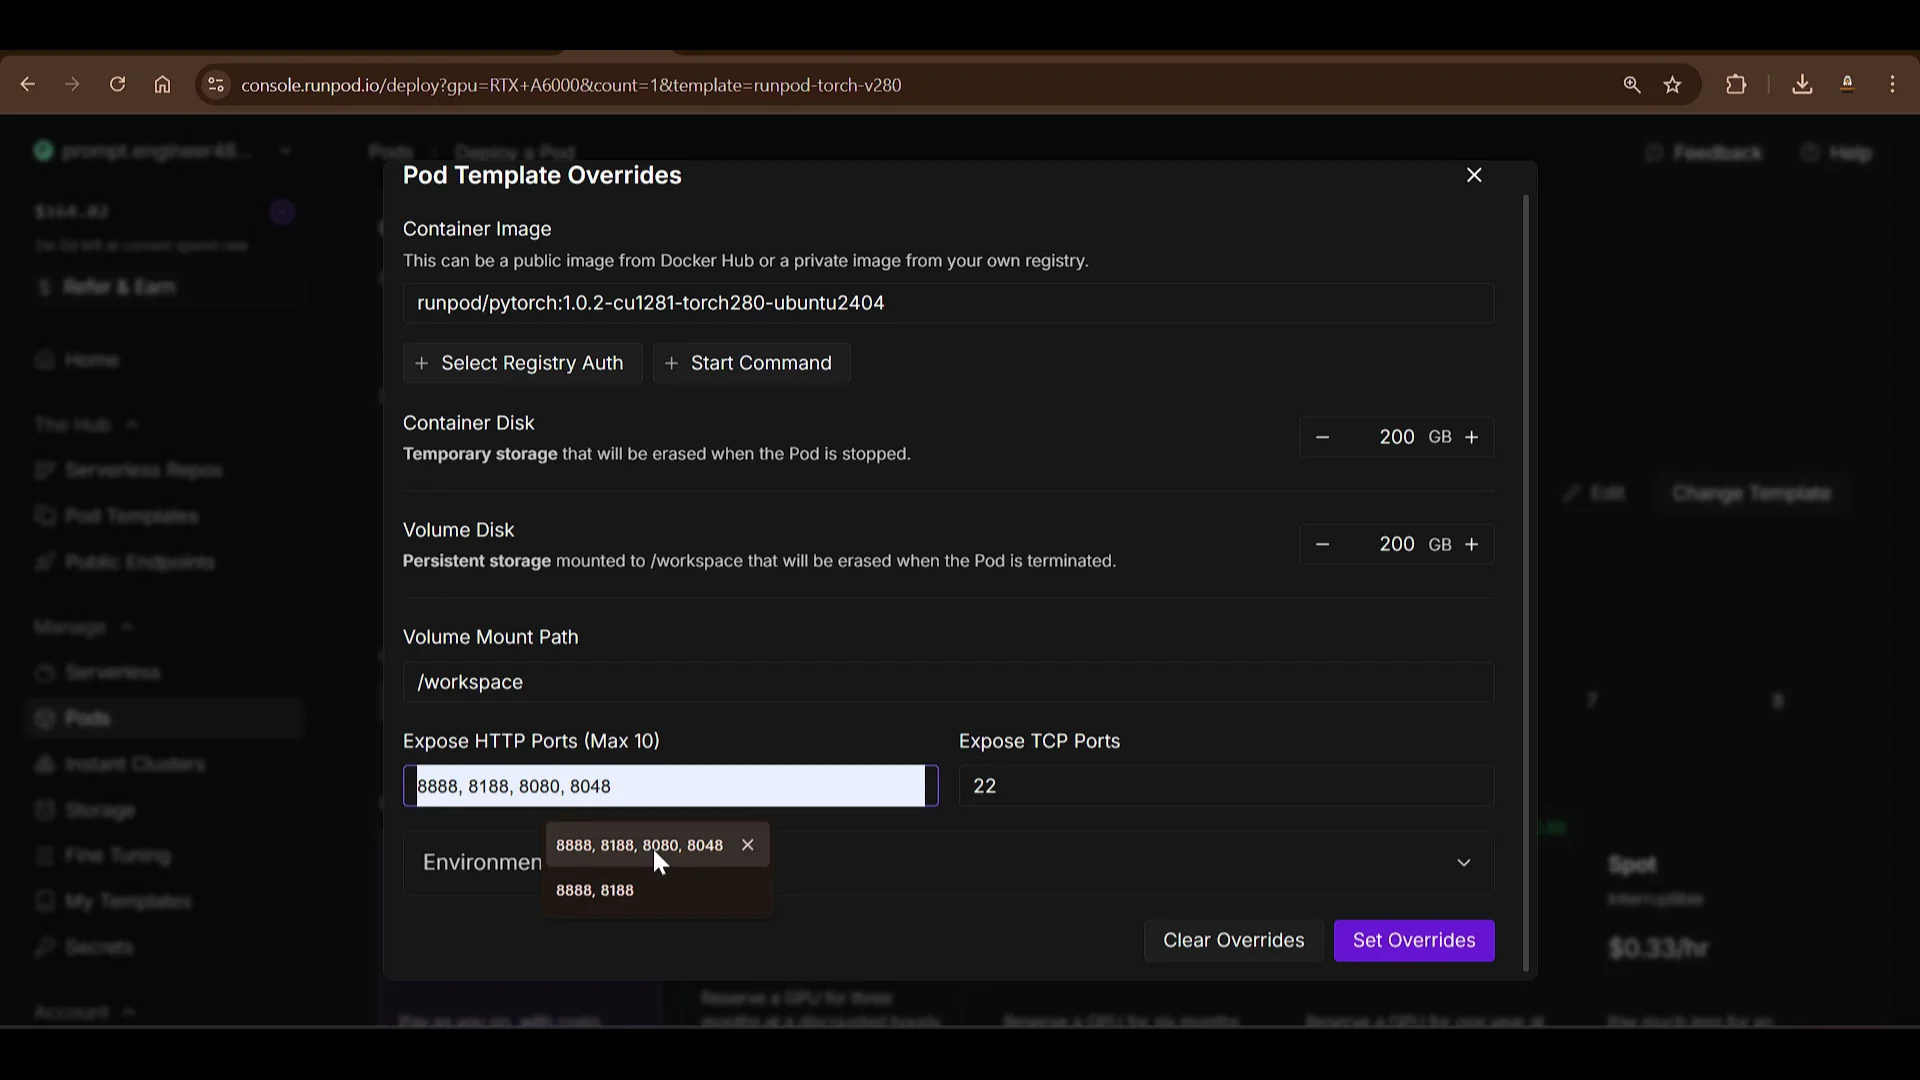
- Click the template to edit and increase disk size.
- Add ports:
- 8888 for Jupyter Notebook
- 818 for the HTTP service that will host ComfyUI
- Click Set Overrides, then Deploy On Demand.
The RTX A6000 pod will be prepared. Click Logs to view downloads and provisioning progress.
Connect to the pod
- When the pod is ready, click Connect. You will see HTTP services listed. They are not ready until services start.
- Jupyter Lab on port 8888 becomes ready first. Click Jupyter Lab to open it.
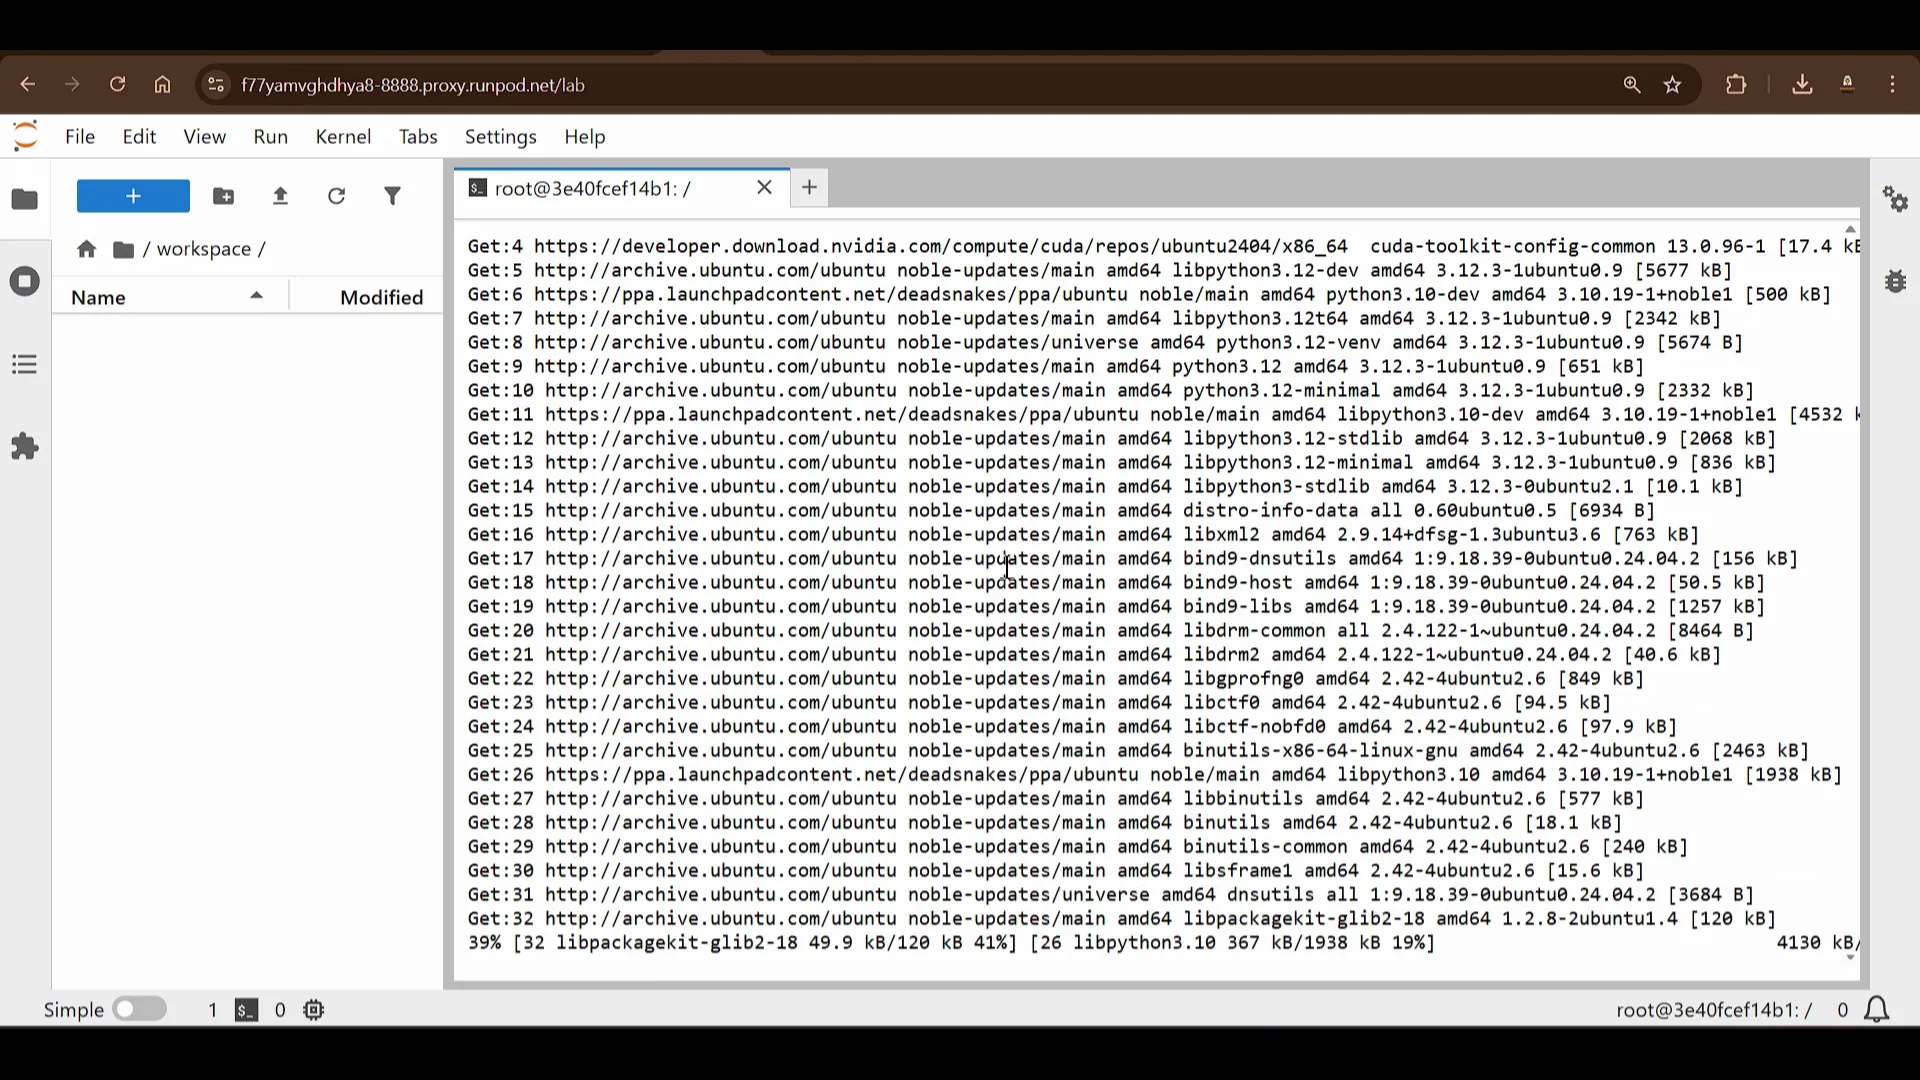
- Open a Terminal in Jupyter Lab.
Z-Image Turbo in ComfyUI - System Prep and Workflow
Update the system
Run a system update and upgrade:
sudo apt-get update
sudo apt-get upgrade -y
Download the Z-Image ComfyUI workflow JSON
- Go to the Z-Image ComfyUI workflow page.
- Download the JSON workflow file and save it as z-image.json. This JSON workflow will be loaded into ComfyUI.
Clone ComfyUI and install dependencies
Open a new terminal in Jupyter Lab and clone ComfyUI:
git clone https://github.com/comfyanonymous/ComfyUI.git
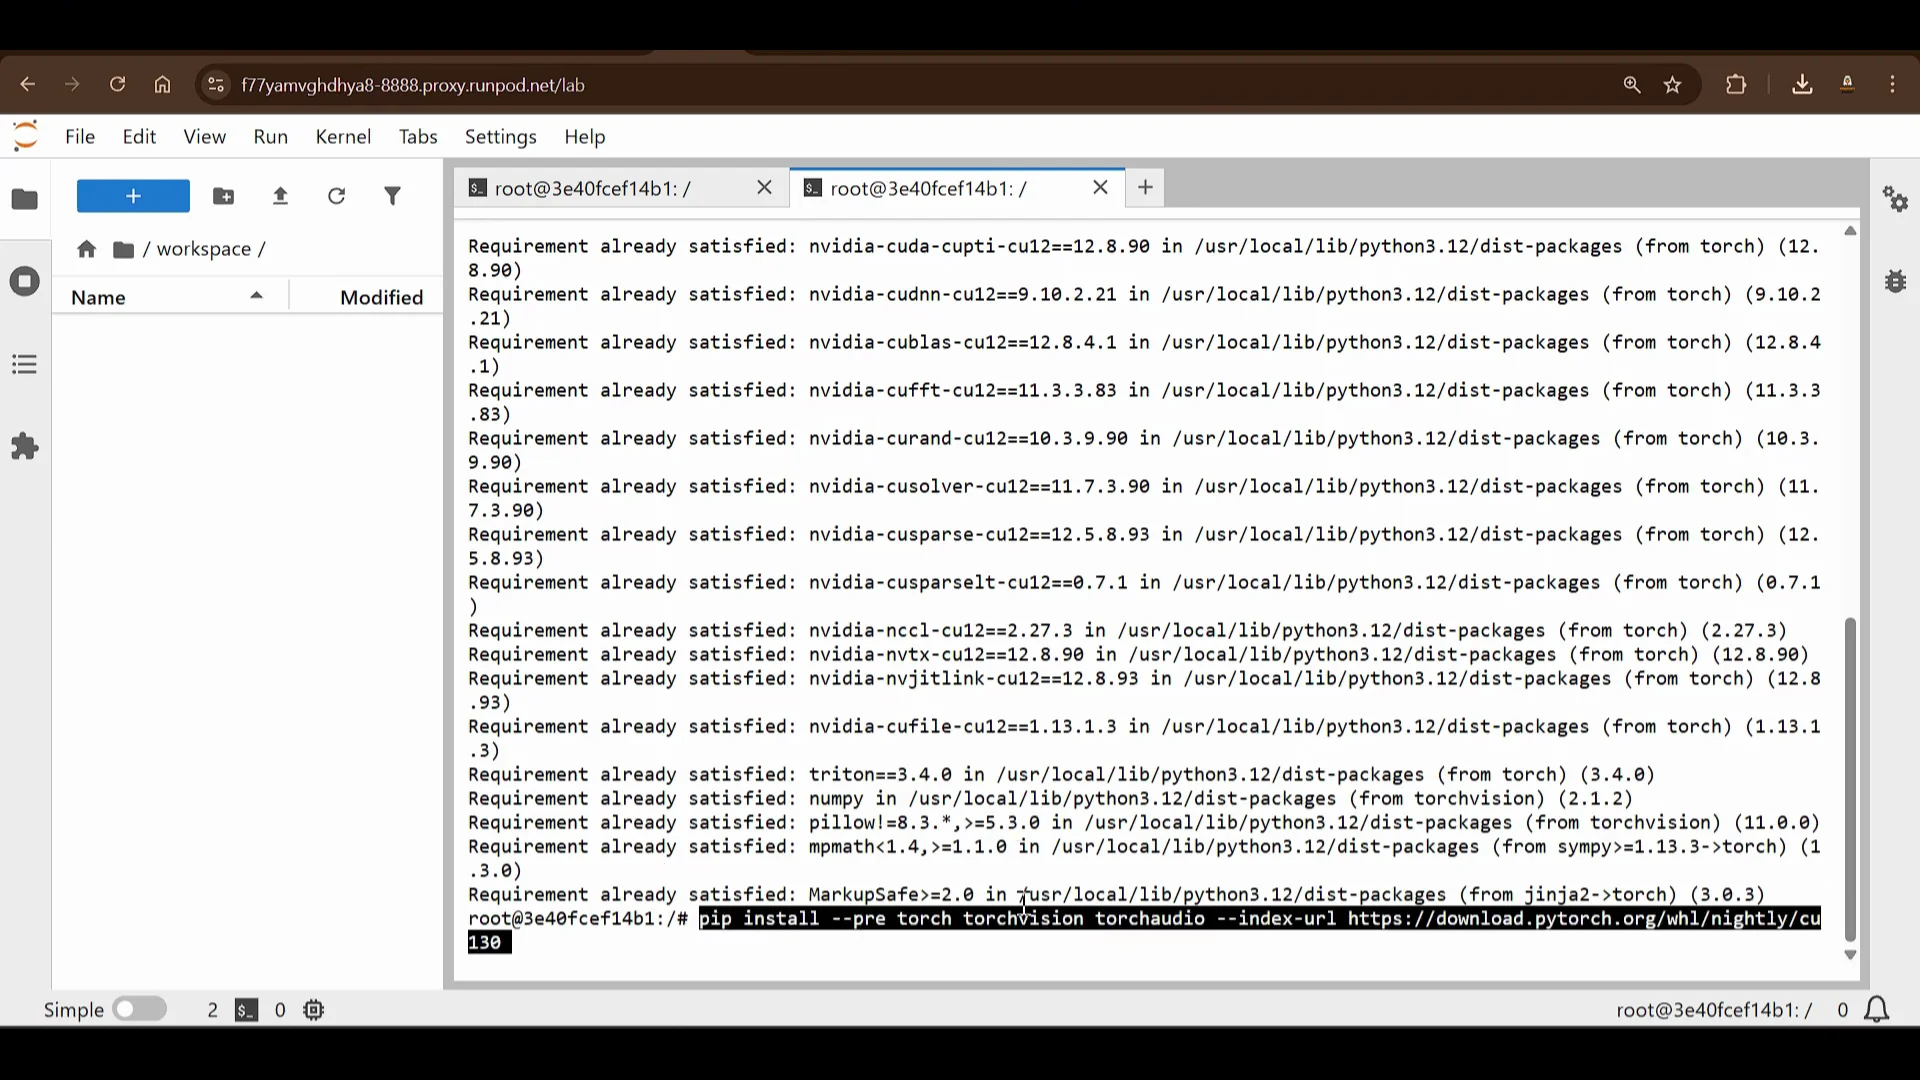
Since the pod runs on Nvidia GPUs, install PyTorch and related packages:
pip install torch torchvision torchaudio --index-url https://download.pytorch.org/whl/cu121
If needed, install from the specified source files for your environment (the commands may indicate already satisfied).
Enter the ComfyUI folder and install requirements:
cd ComfyUI
pip install -r requirements.txt
This installs all the dependencies required for ComfyUI. With these steps you get a fresh and current build.
Z-Image Turbo in ComfyUI - Launching the UI
Start ComfyUI
Run ComfyUI and set the port and listen parameters:
python main.py --port 818 --listen
- Port 818 is used for the HTTP service.
- The listen parameter is needed so it binds to all interfaces. Without it, ComfyUI only listens on localhost, which is not accessible externally.
Once running, the HTTP service on port 818 will show as ready in Runpod. Click the HTTP service to open ComfyUI. You will see that a Z-Image Turbo text-to-image template is available, but I will start from the basics.
Load the workflow JSON
- In ComfyUI, drag and drop the z-image.json workflow file into the UI.
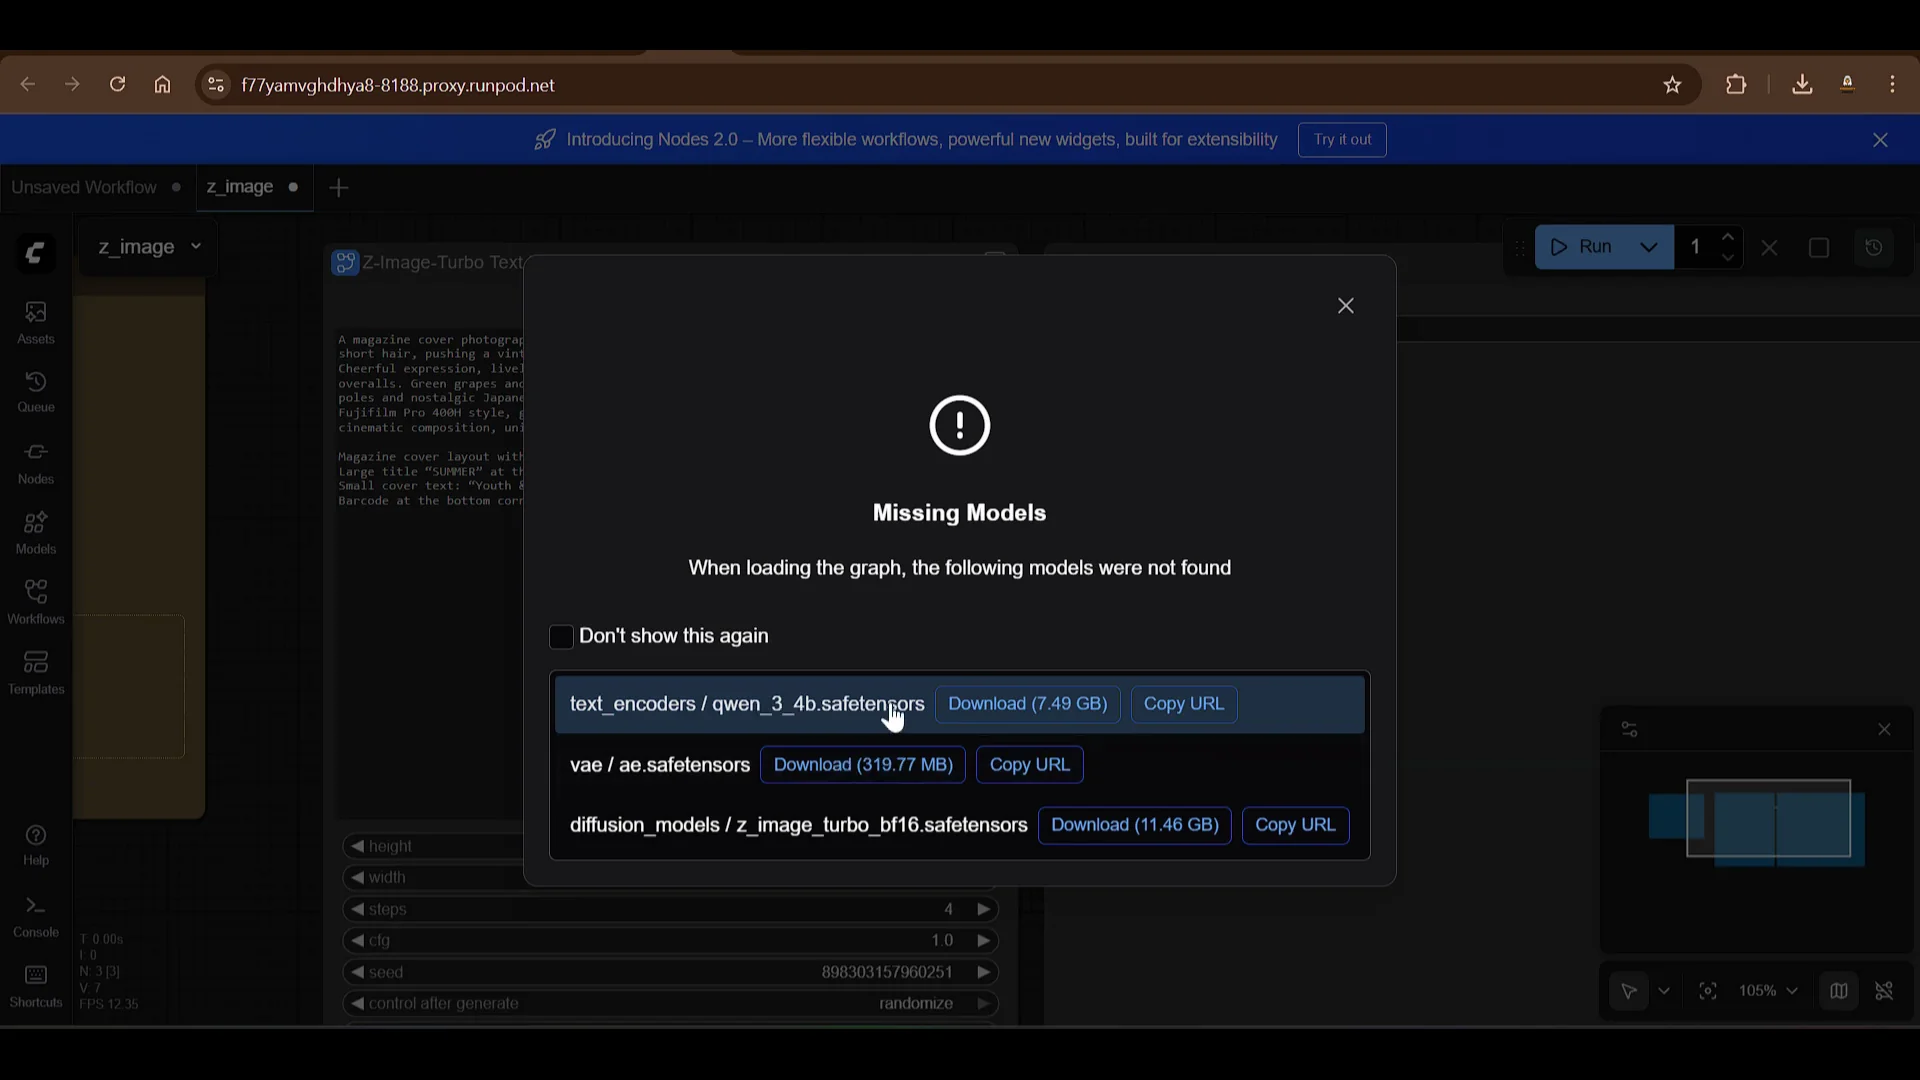
- ComfyUI will show missing models. You need to download and place them in the correct folders.
Z-Image Turbo in ComfyUI - Model Files Placement
You need to download three files and place them in:
- models/text_encoders
- models/vae
- models/diffusion_models
Use Jupyter Lab to navigate to ComfyUI/models, then open terminals directly in each target folder.
Text encoders - 7.49 GB file
- Copy the model URL for the text encoder from the workflow prompt in ComfyUI.
- In Jupyter Lab, go to models/text_encoders.
- Open a new terminal in that folder and confirm the working directory:
pwd
- Download the file:
wget <copied_text_encoder_url>
VAE - 320 MB file
- Copy the VAE URL from the workflow prompt.
- Go to models/vae and open a terminal in that folder:
pwd
wget <copied_vae_url>
Diffusion model - 11 GB file
- Copy the diffusion model URL from the workflow prompt.
- Go to models/diffusion_models and open a terminal there:
pwd
wget <copied_diffusion_model_url>
You will see three downloads in progress:
- The 7.5 GB text encoder file (often a safe tensors or related file)
- The VAE file, about 320 MB
- The diffusion model file, about 11 GB
When text encoder and VAE finish, and the diffusion model completes, the workflow can be run.
Z-Image Turbo in ComfyUI - Workflow Parameters
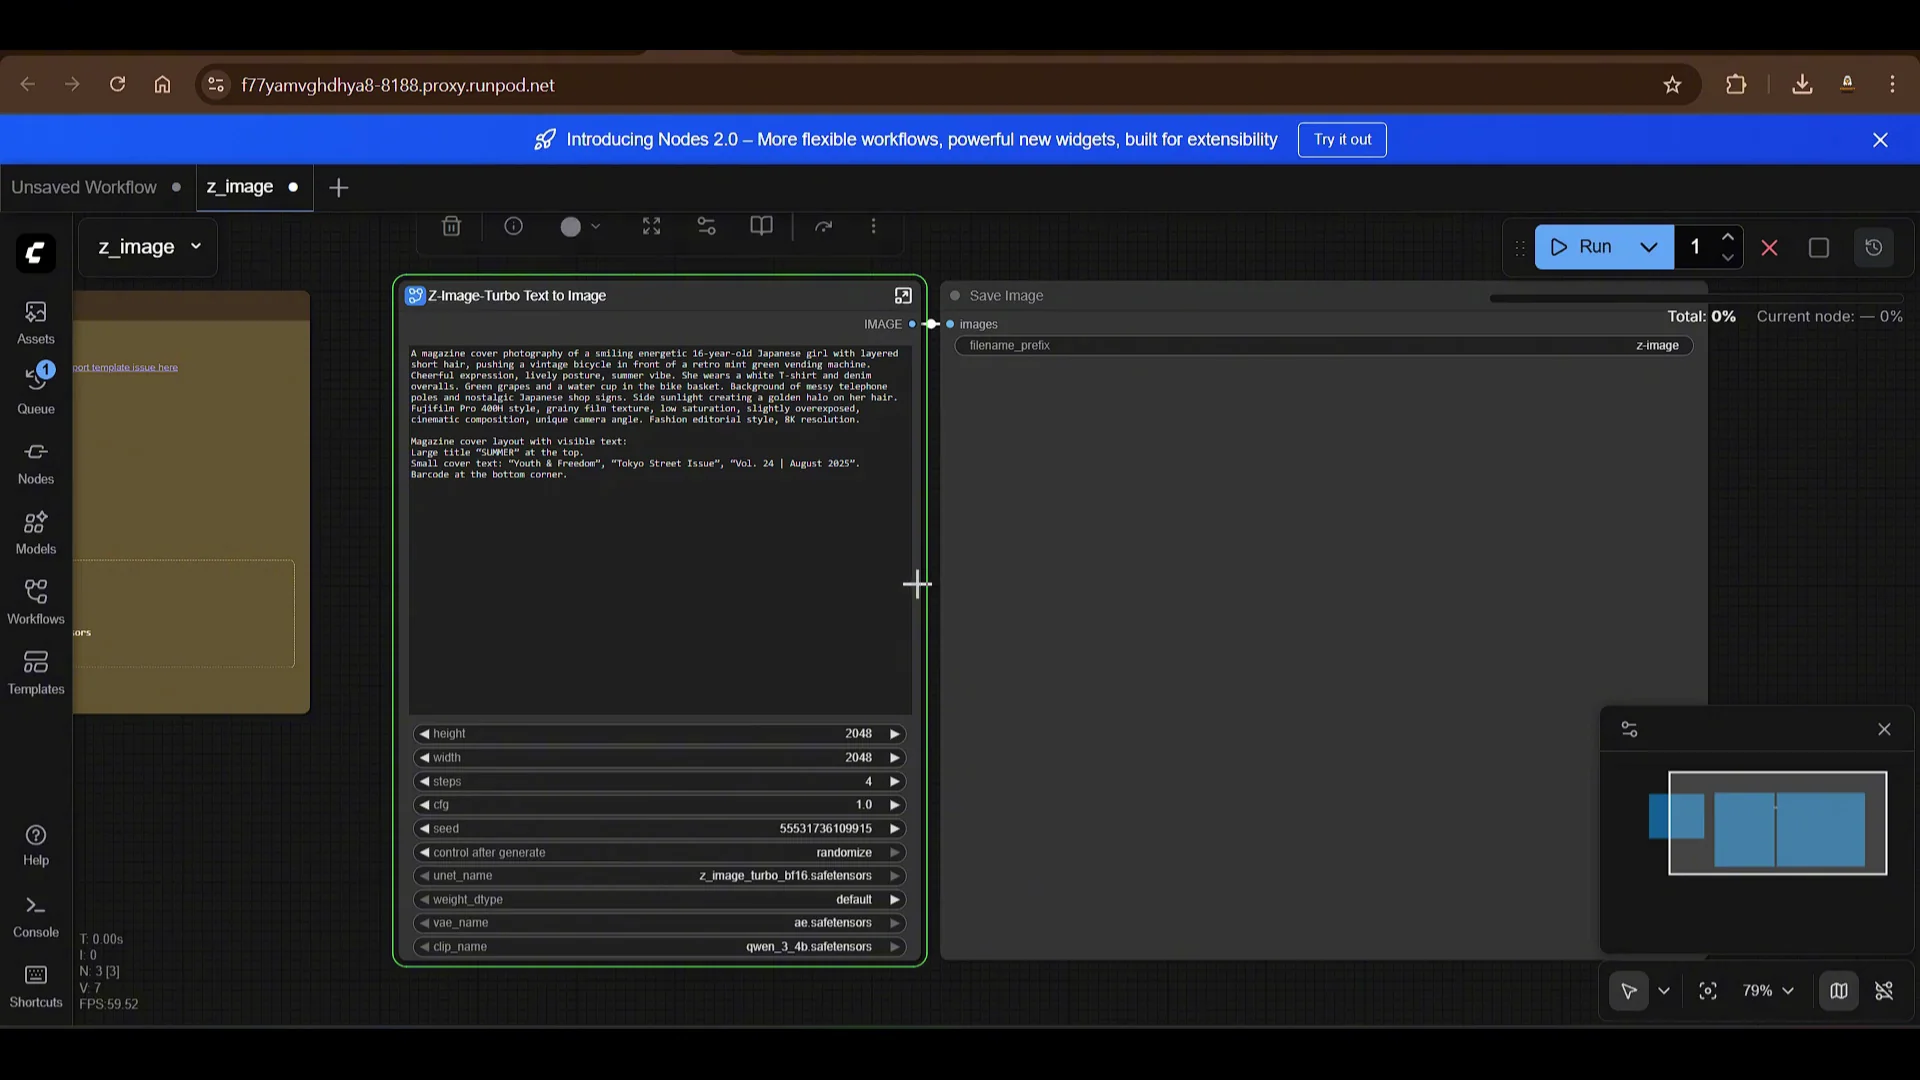
Open the workflow in ComfyUI. The graph is simple and includes:
- Prompt fields
- Image height and width
- Number of steps, with a default of 4
- CFG scale set to 1
- Random seed option with a seed input and randomize toggle
- UNet set to the Z-Image Turbo checkpoint
- VAE set to the downloaded VAE
- CLIP or text encoder set to the downloaded text encoders
Once all models are in the correct folders, ComfyUI will load them automatically when you run the workflow.
Z-Image Turbo in ComfyUI - First Run
Click Run in ComfyUI.
- The first run takes longer because the models are loaded into memory.
- You can view the queue to see progress.
The output looks excellent. The quality is impressive.
Z-Image Turbo in ComfyUI - Additional Tests and Timing
I tested more examples:
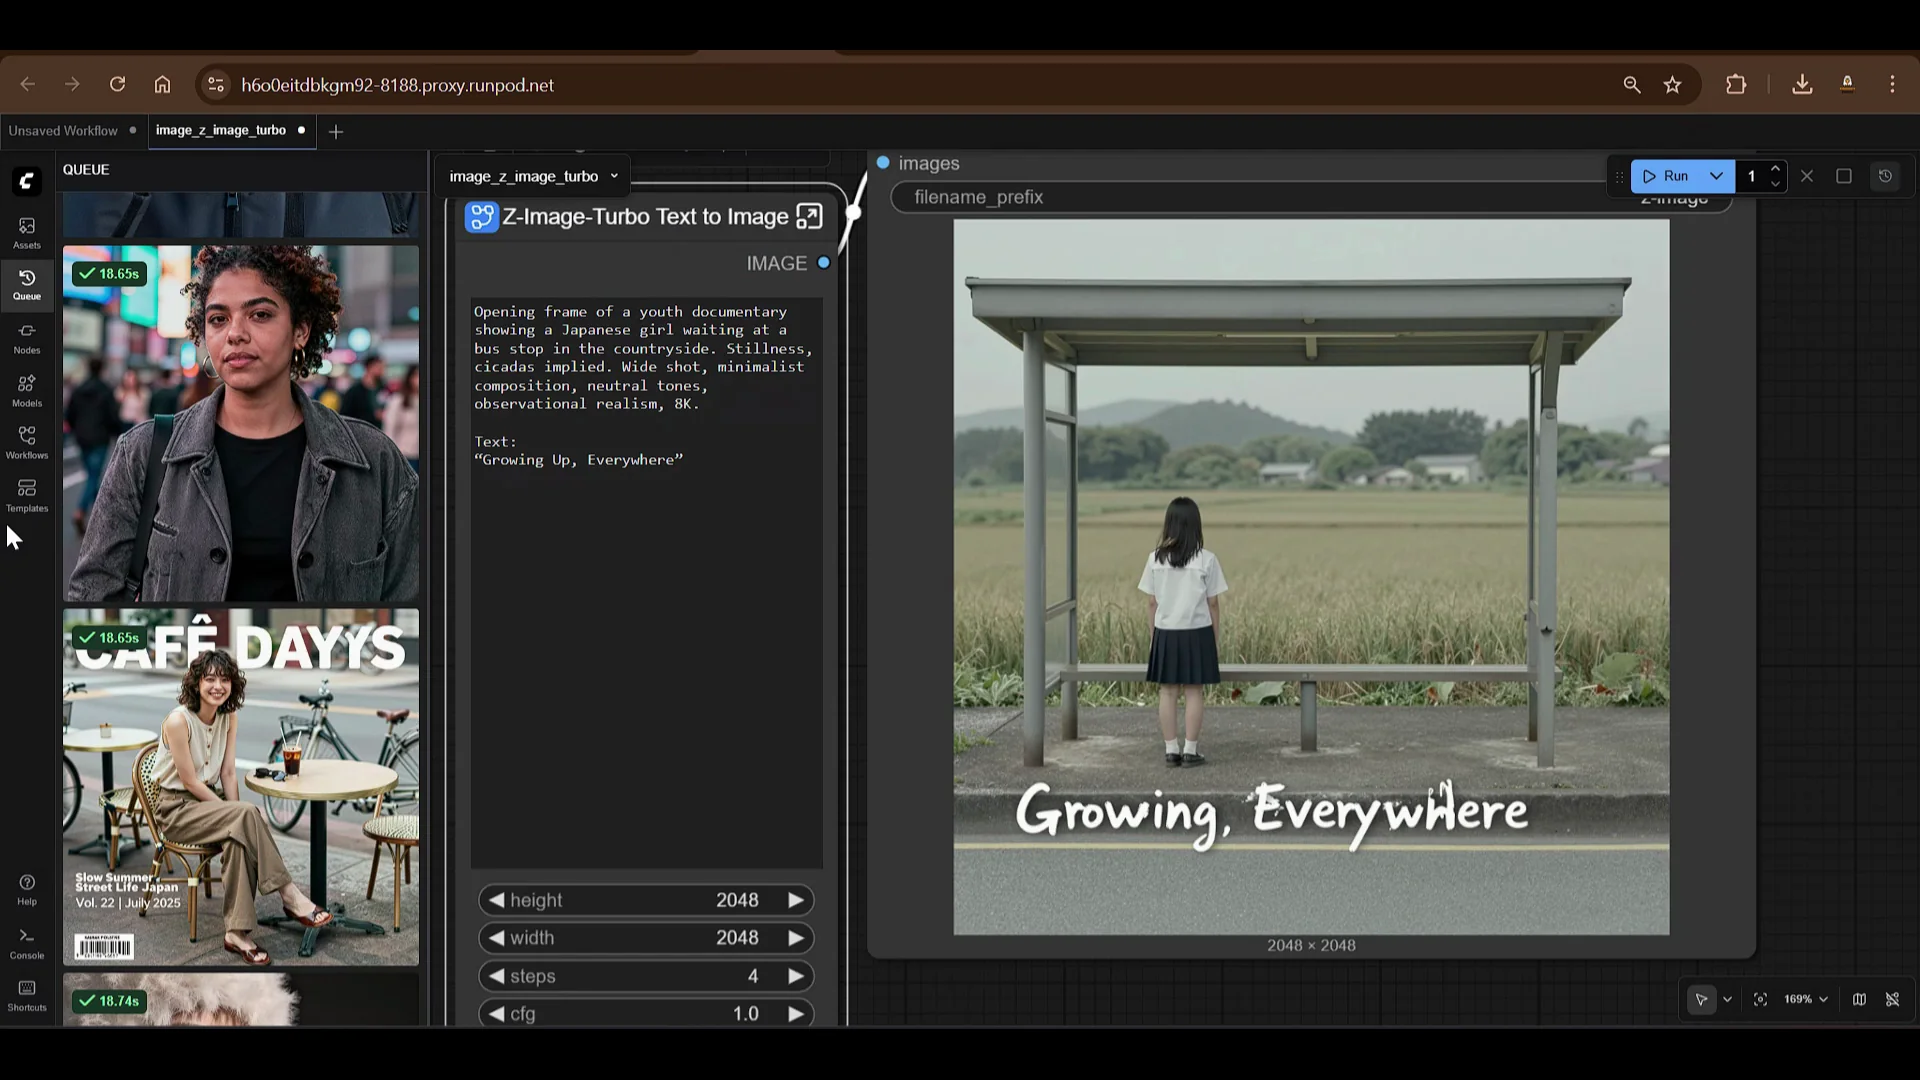
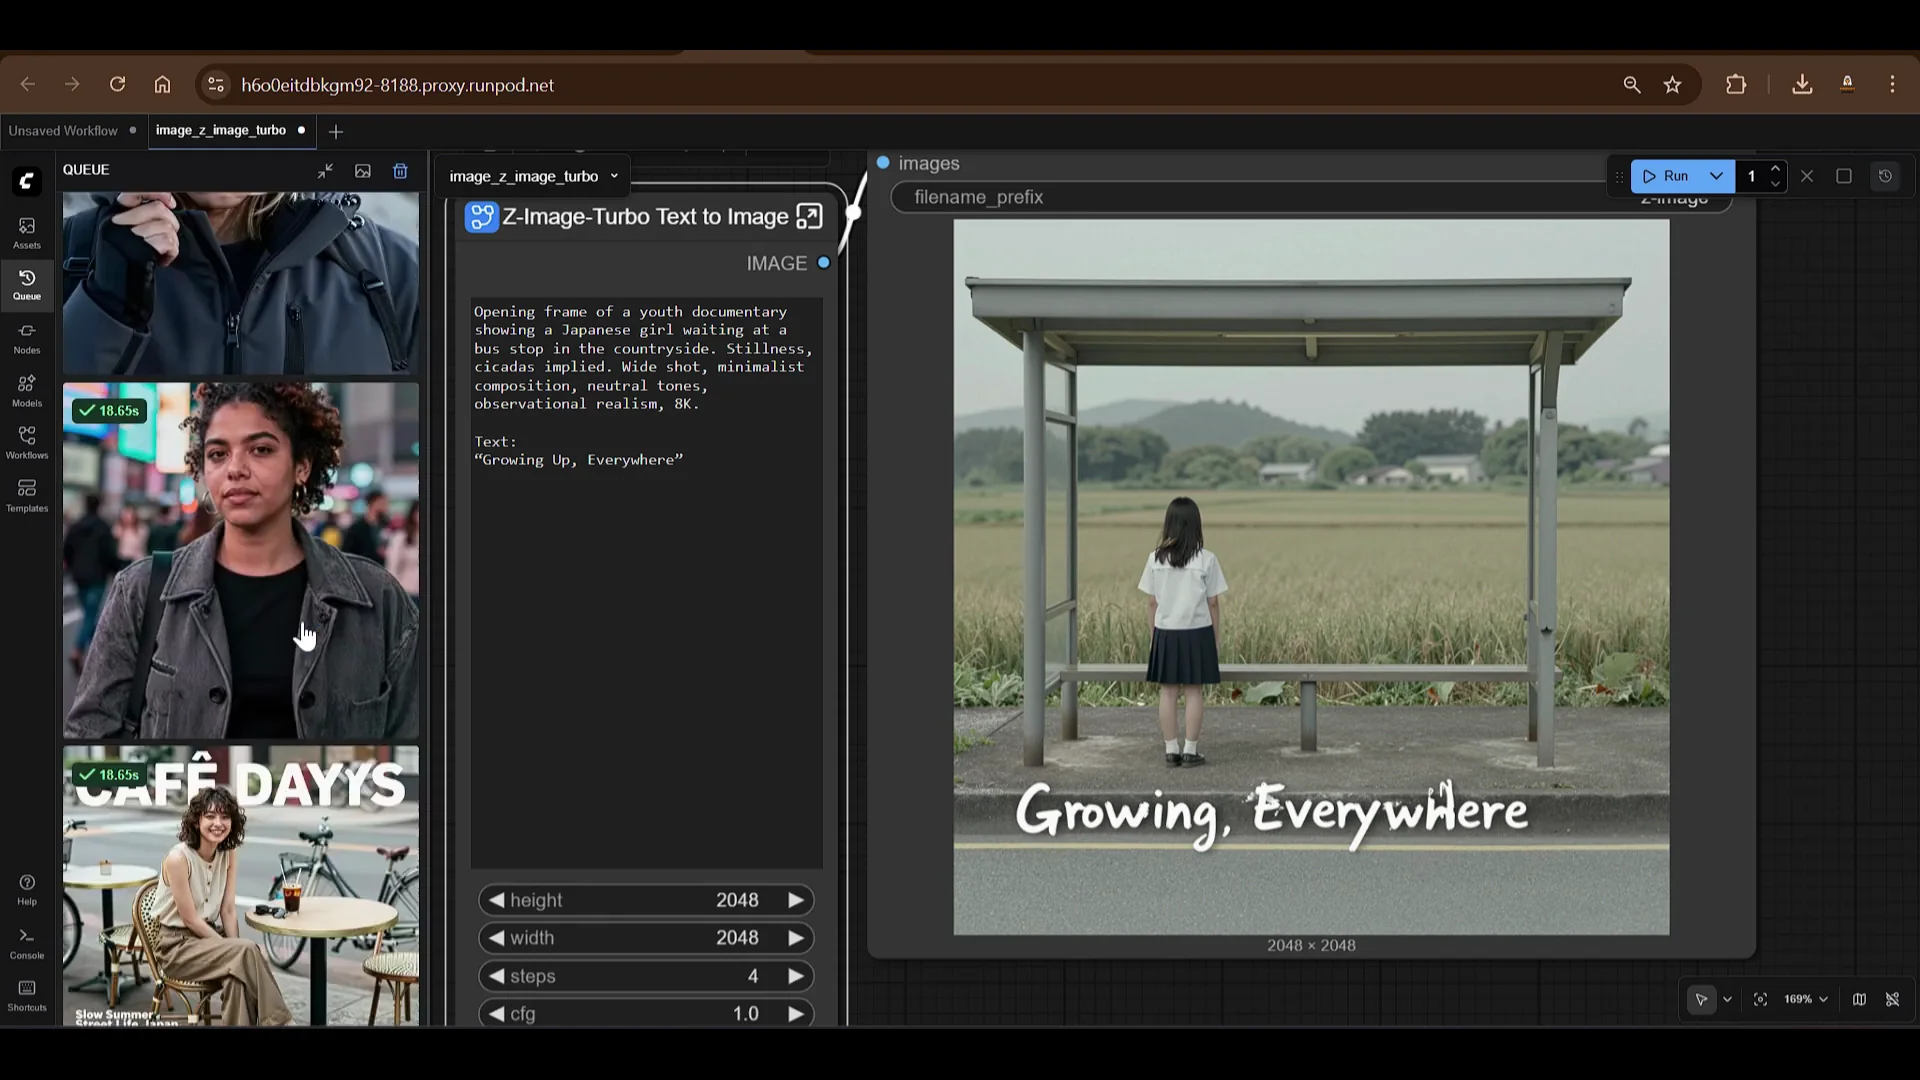
- A cinematic film poster of a thoughtful 16-year-old Japanese girl. On the second run, it took about 17 seconds. The text had some difficulty rendering, but the photo quality is strong.
- A Latina female with thick wavy hair and sun-kissed skin. This took about 17 seconds. Prompt following is very good.
You can now test this setup on Runpod using the same approach. The service runs on Runpod, and you can try other examples as well.
Z-Image Turbo in ComfyUI - Using Templates and Other Models
In the Templates section of ComfyUI, you can explore many ready-made templates.
- Flux todev
- Punan video
- Other model workflows
To use any template:
- Click the template to load it.
- Download the required models indicated by missing model prompts.
- Place each model in the appropriate folder in ComfyUI/models.
- Run the workflow.
With this approach, you can load and run different workflows quickly by placing the correct models in the right folders.
Z-Image Turbo in ComfyUI - Summary and Outlook
In this article I reviewed Z-Image Turbo. I am waiting for the other models, Z-Image Base and Z-Image Edit. The edit model will be interesting for image editing tasks. The quality of Z-Image Turbo is excellent.
The edit feature is compelling and I will test it when it is released.
Z-Image Turbo in ComfyUI - Cost Control on Runpod
Before wrapping up, there is an important operational note. Go to Runpod and stop the pod when you are done.
- Stop the pod to avoid incurring costs.
- If you leave the pod in a stopped state with resources attached, there will be a cost of 006 per hour to keep the settings.
- If you do not want to set it up again, you can leave it as is.
- You can also terminate the pod and start fresh later, because setup does not take much time with these steps.
Test these models and explore other templates. I will see you in the next one. Have a nice day.
Z-Image Turbo in ComfyUI - Step-by-Step Quick Reference
Use this condensed walkthrough if you want a quick setup checklist.
Provision and connect
- Create a Runpod account and add credits.
- Deploy a GPU pod:
- Choose an appropriate GPU, for example RTX A6000.
- Increase disk size as needed.
- Add ports:
- 8888 - Jupyter Lab
- 818 - HTTP service for ComfyUI
- Set overrides and deploy on demand.
- Open Jupyter Lab on port 8888.
- Open a terminal.
Install ComfyUI and dependencies
- Update the system:
sudo apt-get update sudo apt-get upgrade -y - Clone ComfyUI:
git clone https://github.com/comfyanonymous/ComfyUI.git cd ComfyUI - Install PyTorch stack:
pip install torch torchvision torchaudio --index-url https://download.pytorch.org/whl/cu121 - Install ComfyUI requirements:
pip install -r requirements.txt
Get the workflow and models
- Download the Z-Image ComfyUI workflow JSON and save as z-image.json.
- In ComfyUI/models:
- models/text_encoders - download the 7.49 GB text encoder:
cd ComfyUI/models/text_encoders wget <copied_text_encoder_url> - models/vae - download the 320 MB VAE:
cd ../vae wget <copied_vae_url> - models/diffusion_models - download the 11 GB diffusion model:
cd ../diffusion_models
wget <copied_diffusion_model_url>
- models/text_encoders - download the 7.49 GB text encoder:
Launch ComfyUI and run
- Start ComfyUI:
cd ../../ python main.py --port 818 --listen - Open the HTTP service on port 818 from the Runpod UI.
- Drag and drop z-image.json into ComfyUI.
- Confirm models are detected.
- Set parameters:
- Prompt
- Height and width
- Steps 4
- CFG 1
- Seed or randomize
- UNet - Z-Image Turbo
- VAE - downloaded VAE
- CLIP - downloaded text encoders
- Click Run and wait for the first load. Subsequent runs are faster.
Manage costs
- Stop the pod after use to avoid charges.
- Keeping the pod paused with settings incurs 006 per hour.
- Terminate the pod if you prefer to start fresh next time.
Recent Posts

How to Improve Text on Z-Image Turbo?
Z-Image-De-Turbo: A de-distilled variant of Z-Image-Turbo for flexible training, LoRA development, and extended experimentation without adapters.
Z-Image-De-Turbo de-distilled variant of Z-Image
Z-Image-De-Turbo: A de-distilled variant of Z-Image-Turbo for flexible training, LoRA development, and extended experimentation without adapters.
Z-Image Turbo ControlNet Workflow
Tutorial on Union ControlNet in ComfyUI—pose, Canny, and depth controls, depth-model preprocessing, step-by-step workflow, plus speed tests with example results.
Comments
Loading comments...